- bumGenius
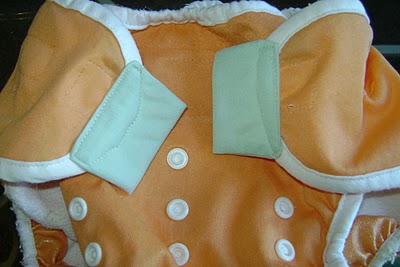
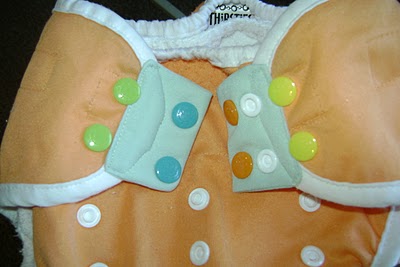
If the aplix on your bumGenius diapers is getting old and worn out or your toddler has learned to undo the velcro, you can easily convert the diaper to a snap closure. The tutorials below detail how to create 1 row or 2 rows of snaps, as well as how to convert a medium sized diaper into a medium/small.
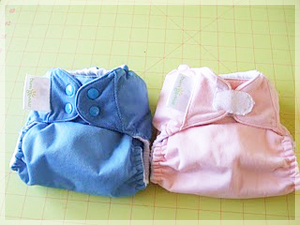
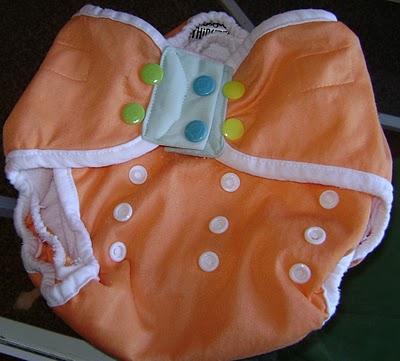
Shown with matching bumGenius snaps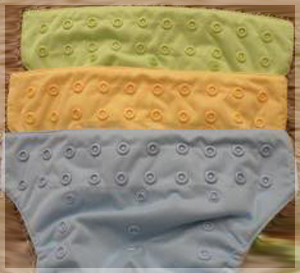
Photo courtesy of www.convertmydiapers.com, a snap conversion service
bumGenius 1 Row Conversion
 Tutorial below provided by Leila Kelleher
Time: about 30 mins, faster for subsequent dipes (because of your template)
Tools: Snap pliers or press, snaps, pencil, ruler, 1 piece of paper, awl, unpicking tool of choice, scissors
Snaps: 1 row of snaps with a total of 14 sockets, 4 studs, and 18 caps.
Here's my One-Size bumGenius, ready to go!
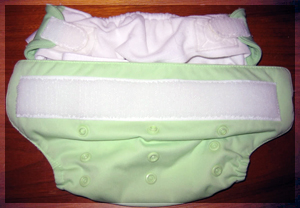
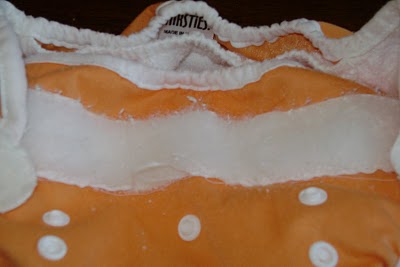
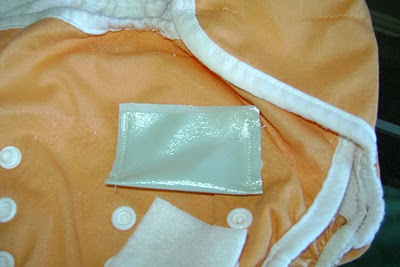
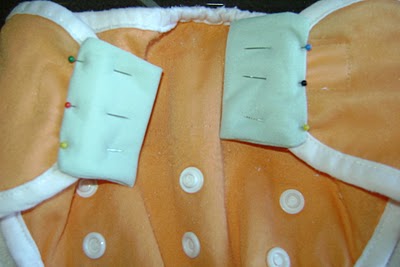
Using an unpicker or your preferred method of unpicking, remove the aplix at the front of the diaper. Personally, I think the best way is to break a stitch every 4-5 stitches and every single stitch where it is double stitched (top left corner). It should then just come off really easily. You'll then want to pick all the bits of loose thread off.
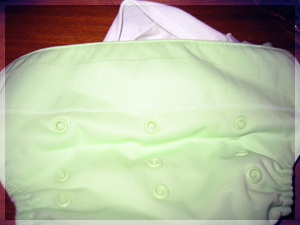
Next, cut the end of the tab off. This makes unpicking the tabs much easier - they will come apart. You can do a bit of manhandling here as the stretchy tabs can take more abuse (i.e. ripping the darn thing off with force, rather than carefully unpicking).
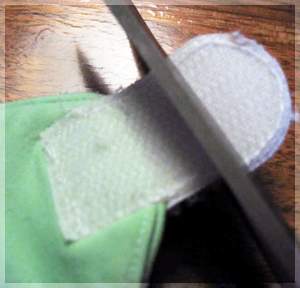
Here's the tab, all unpicked!
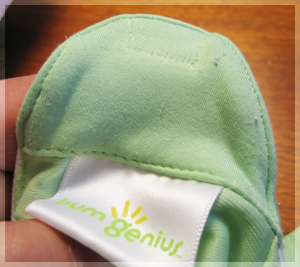
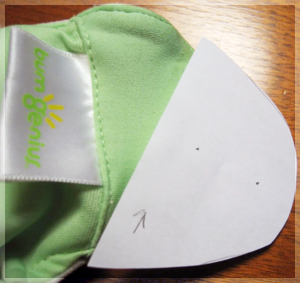
Now you're going to make a snap placement template for the front. This will make is much faster to do lots of BGs. You won't have to measure the placement each time! So first, trace the outside edge of the front and cut it out.
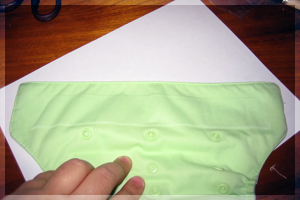
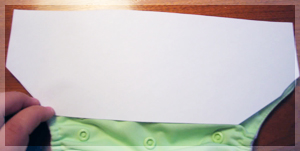
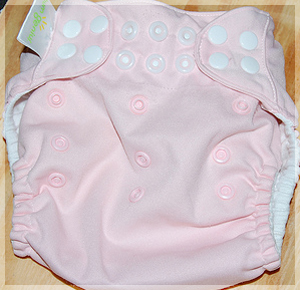
Mark your snap placement. I put them every 2cm so they are quite close together for maximum adjustability. This results in 14 sockets in the front of the diaper. Place two snap caps on your template to check they aren't too close!
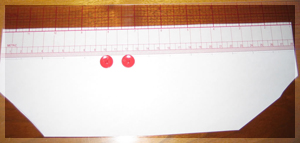
Use your awl to poke holes through your template at the snap points.
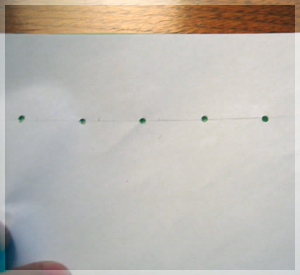
Place template over the front of the diaper and mark placement of snaps with a pencil.
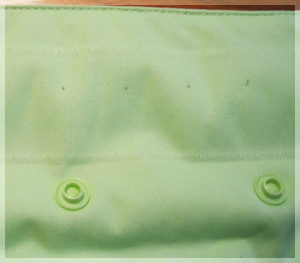
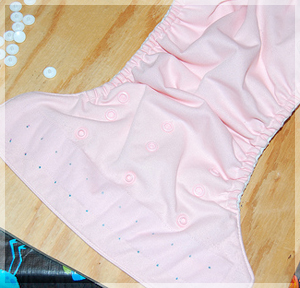
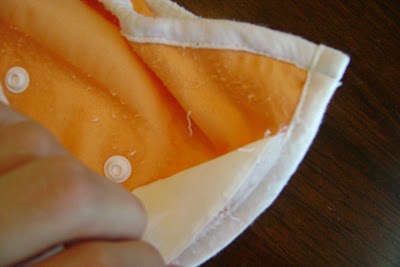
Put your hand inside the pocket of the diaper and use your awl to poke holes through the front (not through the inner layer). Be very careful as your awl is sharp and you don't want holes in yourself!
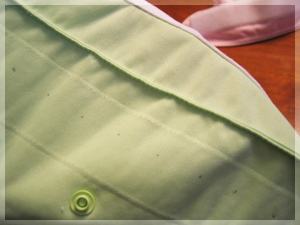
Take your snap cap and place it inside the pocket of the diaper, pushing the prong out through one of the holes you made.
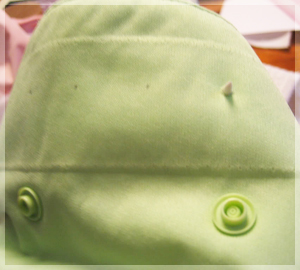
Place the socket over the prong.
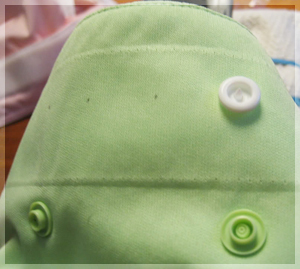
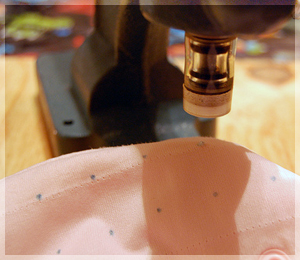
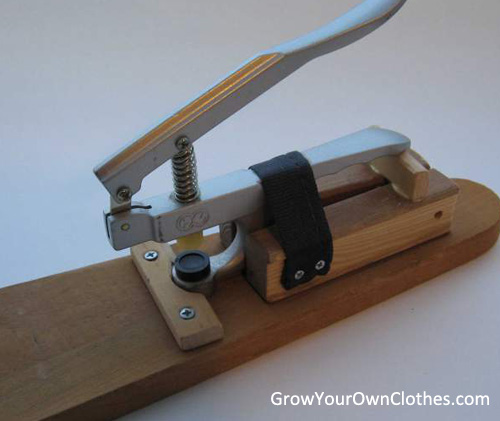
Place snap plier (or press) over the over the outer and inner layers of the diaper, making sure the cap is centered in the die.
Note that the cap end of the pliers does not need to go through the diaper pocket--instead the entire diaper is sandwiched between the pliers so you actually have the inner diaper fabric between the die and the cap.
In other words, your layers will go: cap die, PUL inner layer, cap, PUL outer layer, socket, upper part of plier. Press it hard!
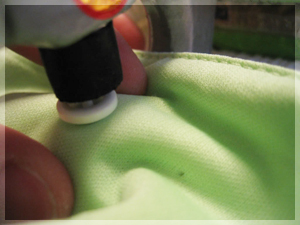
Here is your nice, smooshed snap. Repeat for all of the holes on the front.
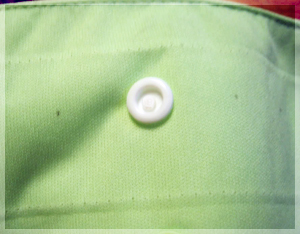
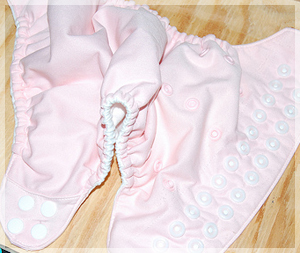
Go through the same steps (template, mark, poke, press) for the tabs, but this time make sure the cap prong goes through the entire tab and use studs instead of sockets.
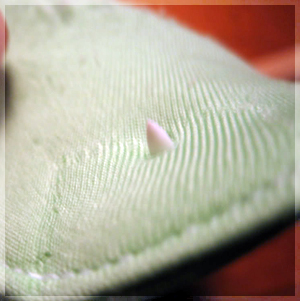
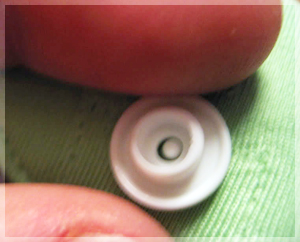
Sit back and admire your work!
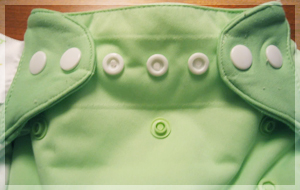
Note: A pocket diaper was used in the above tute. If you have an AIO, you may find this link from Angie's Whim Free Diaper Patterns helpful.
bumGenius 2 Row Conversion
Tutorial below provided by Meagan
Snaps: 2 rows of snaps with a total of 24 sockets, 8 studs, and 32 caps.
I made myself a template. I have two rows of snaps on the front, all placed .75 inches apart, 12 snaps (sockets) per row. Then I decided to go ahead and do 4 snaps (studs) on each wing, .75 inches apart, so that they are harder for an older toddler to remove, and are sturdier.
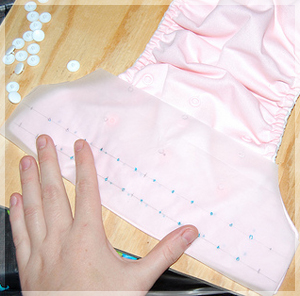
Using Free Snap Template to Match BG 4.0 Snap Placement
Template provided by Bella of Musings of an Organic Mama Squirrel
Additional instructions provided by Melissa B
Click to enlarge.
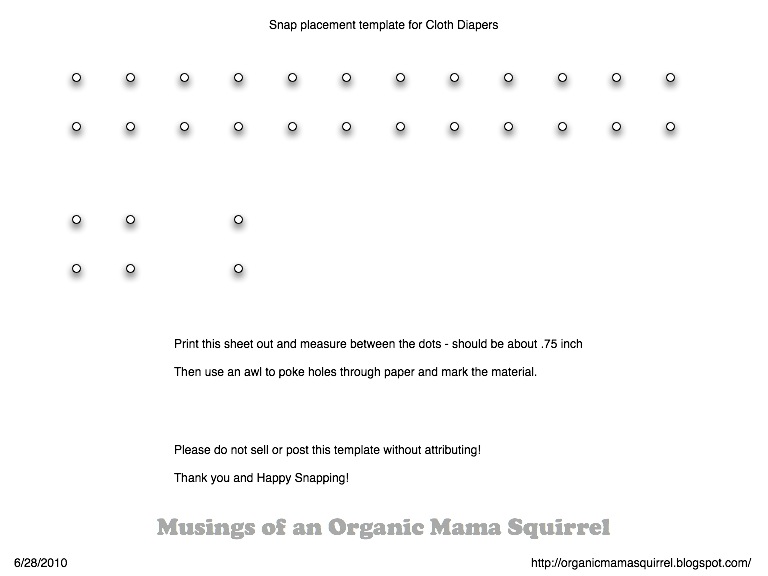
If you want your converted diapers to have snaps spaced out just like a 4.0 BGO, do the following... (this may not work on all browsers)
1. Click on the template above
2. Go to File & Print Preview
3. Change vertical to horizontal page
4. Change shrink-to-fit to custom
5. Type in custom size 180%
6. Move top margins to edge of page
7. Print
8. Check spacing - one inch from the center of one dot to center of the next.
9. Draw the other half of the last two dots (should be 20 dots total)
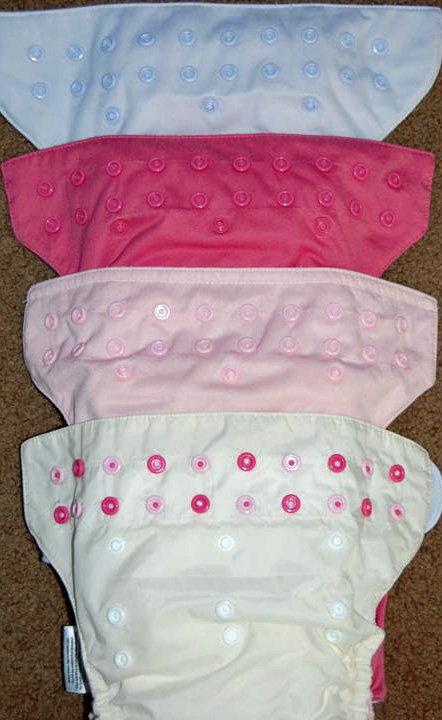
Snap 4.0 (bubble) compared to a converted 3.0 (zinnia), 2.0 (blossom), and 1.0 (white).
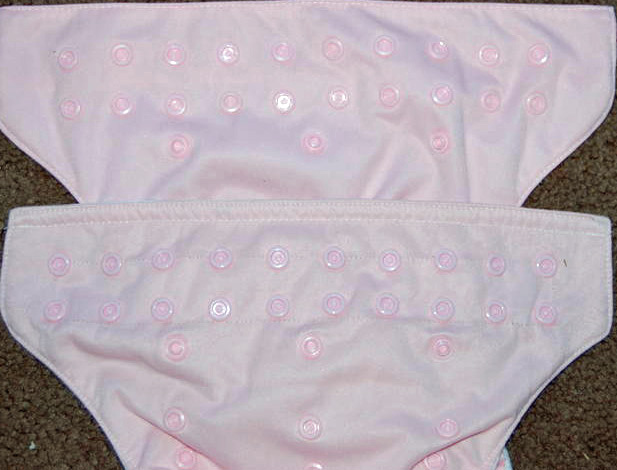
Snap 4.0 blossom compared to a converted 2.0 blossom.
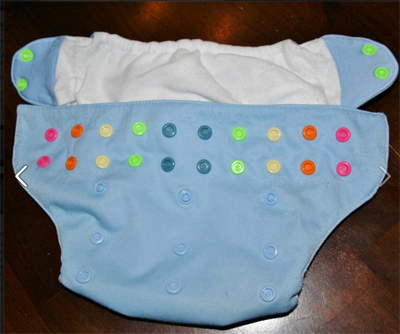
** A pdf template which you may find easier to use/print, provided by Old Life Redesigned, is available here. The diaper below was made from this template.
bumGenius Size Conversion
Tutorial below provided by Tiffany
The following tutorial shows how to convert a medium bumGenius diaper to medium/small.
Snaps: 3 sockets, 3 studs, 6 caps.
I have two dozen bumGenius diapers in size medium that I can't use because no one is currently in that size. I finally decided to convert them all to snap closures and make them into two-size diapers (small and medium).
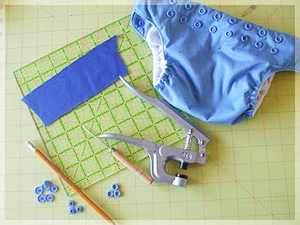
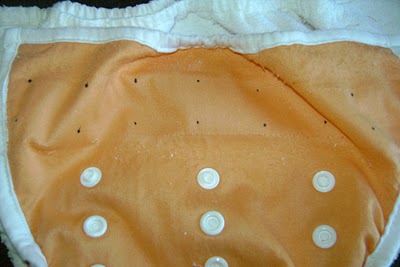
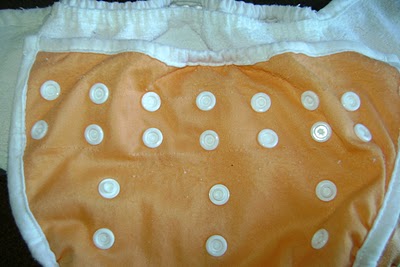
I previously had done the conversion to snap closures.
To do the small size you will need to find the center of the diaper and mark it with a pin or a dot. Measure down 2 1/2" from the top of the diaper and make a mark in the center of the diaper. Make one additional dot 2 3/8" to each side.
Make a second set of marks one inch lower on the diaper. The second set of marks can be further away to make the small a smaller size, but one inch makes it the same size as the small on bumgenius onesize diapers.
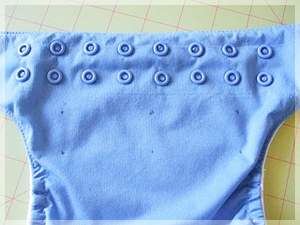
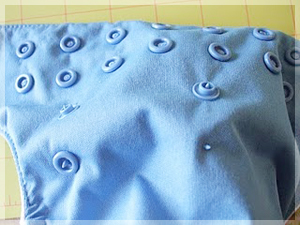
With your awl, poke holes through each mark. Insert your hand in the pocket if you need to to make sure you are only going through the PUL and not through all the layers.
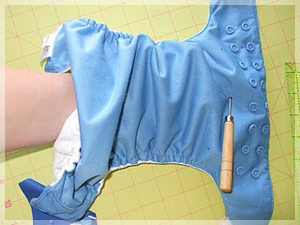
With a scrap of fabric, you are going to make six dots that coincide with the dots on the cover. Mark one in the center a little way down and then one to each side at the same width you did on the cover. Use the awl and poke the holes in the scrap.
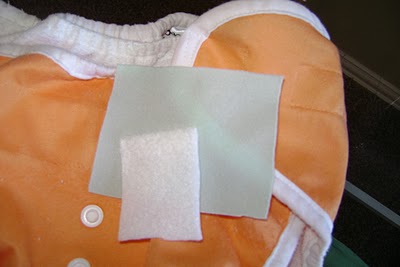
I use a scrap of PUL to reinforce the snaps so they don't rip the fabric, and it also gives it a better thickness to set the snaps.
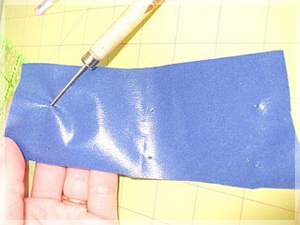
Insert the caps into the scrap. Then put the scrap into the diaper pocket and line the prongs up with the dots on the diaper and push them through.
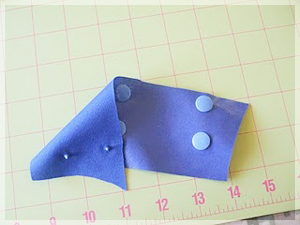
The PUL should hold the caps in place, but if they don't go ahead and put the studs on the top line and sockets on the bottom and push them down firmly. They should stay put then.
I put the caps on the scrap separate from the diaper because it is too hard to line up the scrap if the holes are poked through both the diaper and scrap at the same time.
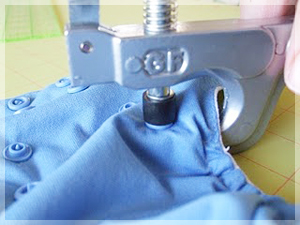
Once all the caps, studs and sockets are in place use the snap pliers, and from the outside ,go around all layers of fabric and center it on the snap set. Squeeze firmly and that's it! Set the other five snap sets and you're done.
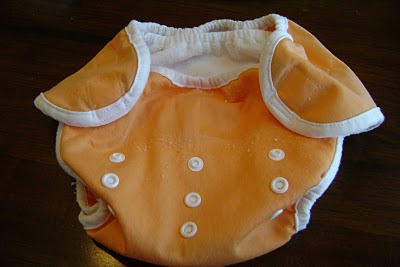
What the finished diaper looks like:
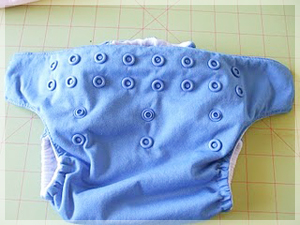
Here it is next to a bumGenius one-size diaper set on the smallest setting. Same size!
bumGenius Snap Conversion - Video
Tutorial below provided by Shery
The following tutorial shows how to convert aplix to 2 rows of snaps.






 Posts
Posts