How to Make a Wool AI2 Diaper Cover
Tutorial below provided by Bella of Musings of an Organic Mama Squirrel
Since wool is naturally waterproof and its not made from plastic (PUL), it seemed like a great natural alternative to the traditional diaper covers. Wool covers are pretty pricey generally so I thought I could make it myself
Supplies:
3/4 yard of outer diaper fabric (I used wool)
20 inches of elastic (1/4 inch)
thread matching the fabric
22 sockets, 4 studs and 26 caps snaps (size 20) matching fabric color
2 sockets, 2 studs, 4 caps (size 20 or size 16) in white
pins, scissors, pen, awl, KAM snap pliers
Step 1:
Make the template for the diaper. I used a GroBaby shell for my template but you can use your favorite diaper cover, or use a template found online. (Ottobre has a free pattern).
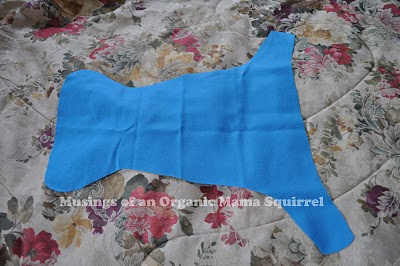
Cut the pattern out and pin it to your fabric. I cut out two copies out of the fabric so the cover would be two sided and the snaps wouldn't touch the baby's skin. To make sure the diaper is even make sure to cut the diaper lengthwise with the fabric fold in the middle.
This is what my cut out fabric looked like:
Step 2:
Use the template found here or make your own for the snaps. I spaced the snaps 3/4 of an inch apart.
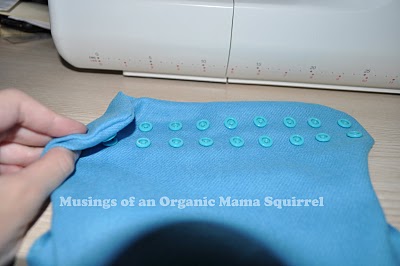
Then using an awl punch holes where the snaps should go in the paper. Placing the template on top of the diaper, mark where the snaps should go with the pen. Then use the awl to punch a hole where the markings on the diaper are.
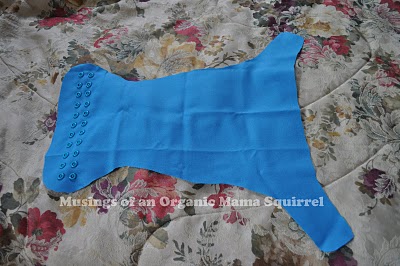
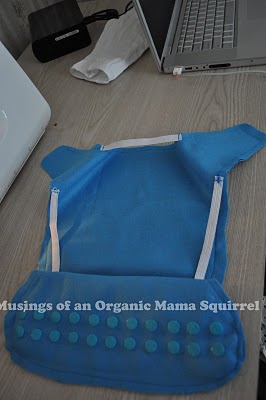
Use the sockets and caps and with the pliers attach them to the diaper. Be careful to make sure each snap is well centered (it's easiest when you do this with the pliers resting on the floor) otherwise it won't snap when the diaper is finished. The final product should look like this:
Step 3:
If you are making a two-ply diaper, pin the snapped fabric to the unsnapped fabric piece such that the caps are facing outward. Then stitch around the front of the diaper, but only as far as the edges shown in the image below (not past where the elastic will go).
This is so that we can insert snaps for the snap in soakers - you can skip this step if you don't want a snap-in soaker.
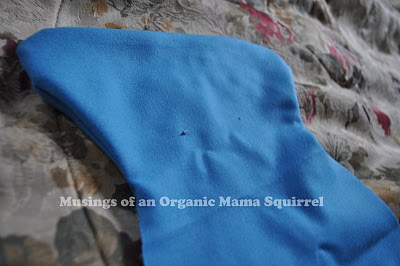
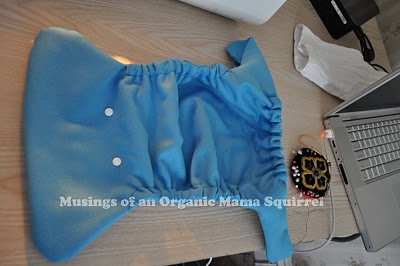
The final product when you turn the fabric inside out should look like this with a nice trim on the outside.
Step 4:
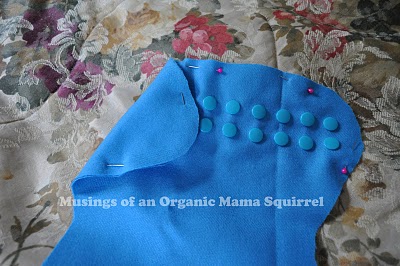
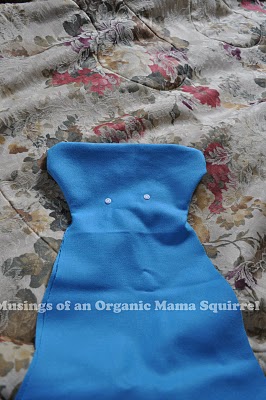
Once you turn the diaper right side out, create a template to with two snaps about 2 inches apart and mark it on the diaper (on the side opposite from the snaps but towards the front of the diaper - about 4 inches down). I used size 16 snaps but upon further reflection it might be better to use larger size 20 snaps so they're more secure when snapping the soaker in and out.
In the end you'll have something like this. Notice that the front of the diaper now has lots of snaps on one side and two smaller snaps on the inside with the back of the diaper not yet stitched.
Step 5:
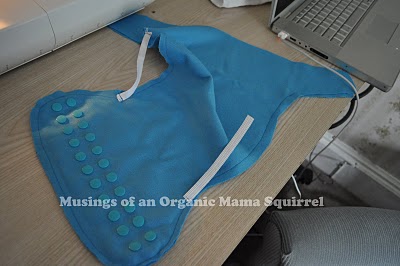
Turn the diaper inside out again and stitch the rest of it around the edge of the diaper except for the top of the diaper. The image below shows all the stitching. Note that there's no stitching on one of the flaps on the upper part of the diaper (so we can turn the diaper right side out again.)
Step 6:
Attach 6 inch pieces of elastic at two places on the diaper. This should span about a foot along the diaper. Attach a 5 inch piece of elastic at the back of the diaper as well.
Step 7:
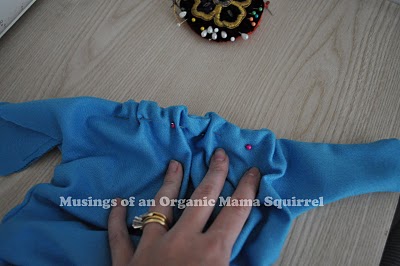
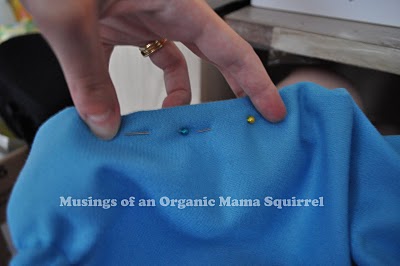
Turn the diaper inside out and pin around the elastic. This will make 'tunnels' for the elastic. This is a tricky step but take your time with it. I've included several photos to show how to do this.
Step 8:
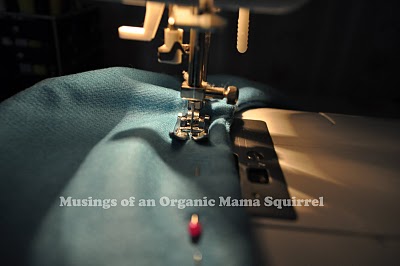
Once you've stitched around the elastics, you should see this:
Next topstitch around the flaps of the diapers to make it look neater and close up the hole we left to turn the diaper right side out.
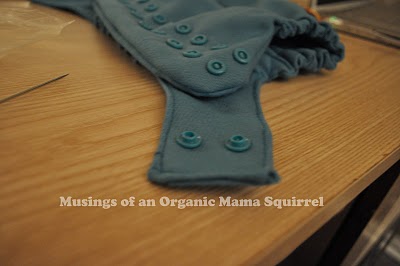
Step 9:
Use the same template as before to put two snaps with studs on each of the flaps about an inch in from the edge. You can also put four snaps on each flap if you prefer.
Step 10:
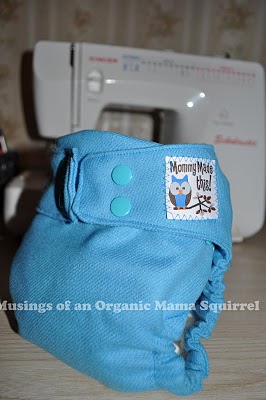
Finally add some bling such as these adorable 'Mommy Made This' tags.
Since this is wool, you should wash by hand, wool diaper care instructions can be found here.
How to Make a Snap-In Soaker
Tutorial below provided by Bella of Musings of an Organic Mama Squirrel
Step 1:
Make a template of the snap locations from the cover. Push the awl through the paper.
 Step 2:
Fold a birdseye prefold (I used Gerbers) with the thick part facing out and the two thinner sides folded over each other. (Note: you can use other types of fabric for the soakers such as bamboo, microfleece, terry.)
You should prewash these before putting in snaps since they tend to shrink in the wash. Then mark the prefold using the template and a pen.
Step 3:
Snap away! Push the snaps through the 2 thinner layers of the prefold that face away from the baby.

Congratulations, you're done! Be careful when snapping and unsnapping them from the cover, you should hold both the soaker and the cover so as not to pull the snaps out.


0 comments:
Post a Comment